Print this page How to lay a concrete slab

Follow these simple step-by-step instructions to lay a small concrete slab in your garden using Cement Australia Concrete Mix.

Tools you will need:

  • Metal screed
  • Wooden float
  • Magnesium float
  • Steel trowel
  • Edging trowel
  • Jointing trowel (groover)
  • Spirit level
  • Tape measure
  • Shovel
  • Turf cutter (if required)
  • Mattock
  • Measuring jug
  • Hose
  • Broom
  • Bucket
  • Hammer
  • Timber saw
  • Carpenters’ square
  • Rake
  • Wheelbarrow or concrete mixer
  • Tamper or plate compactor for compacting the base material
Materials you will need:

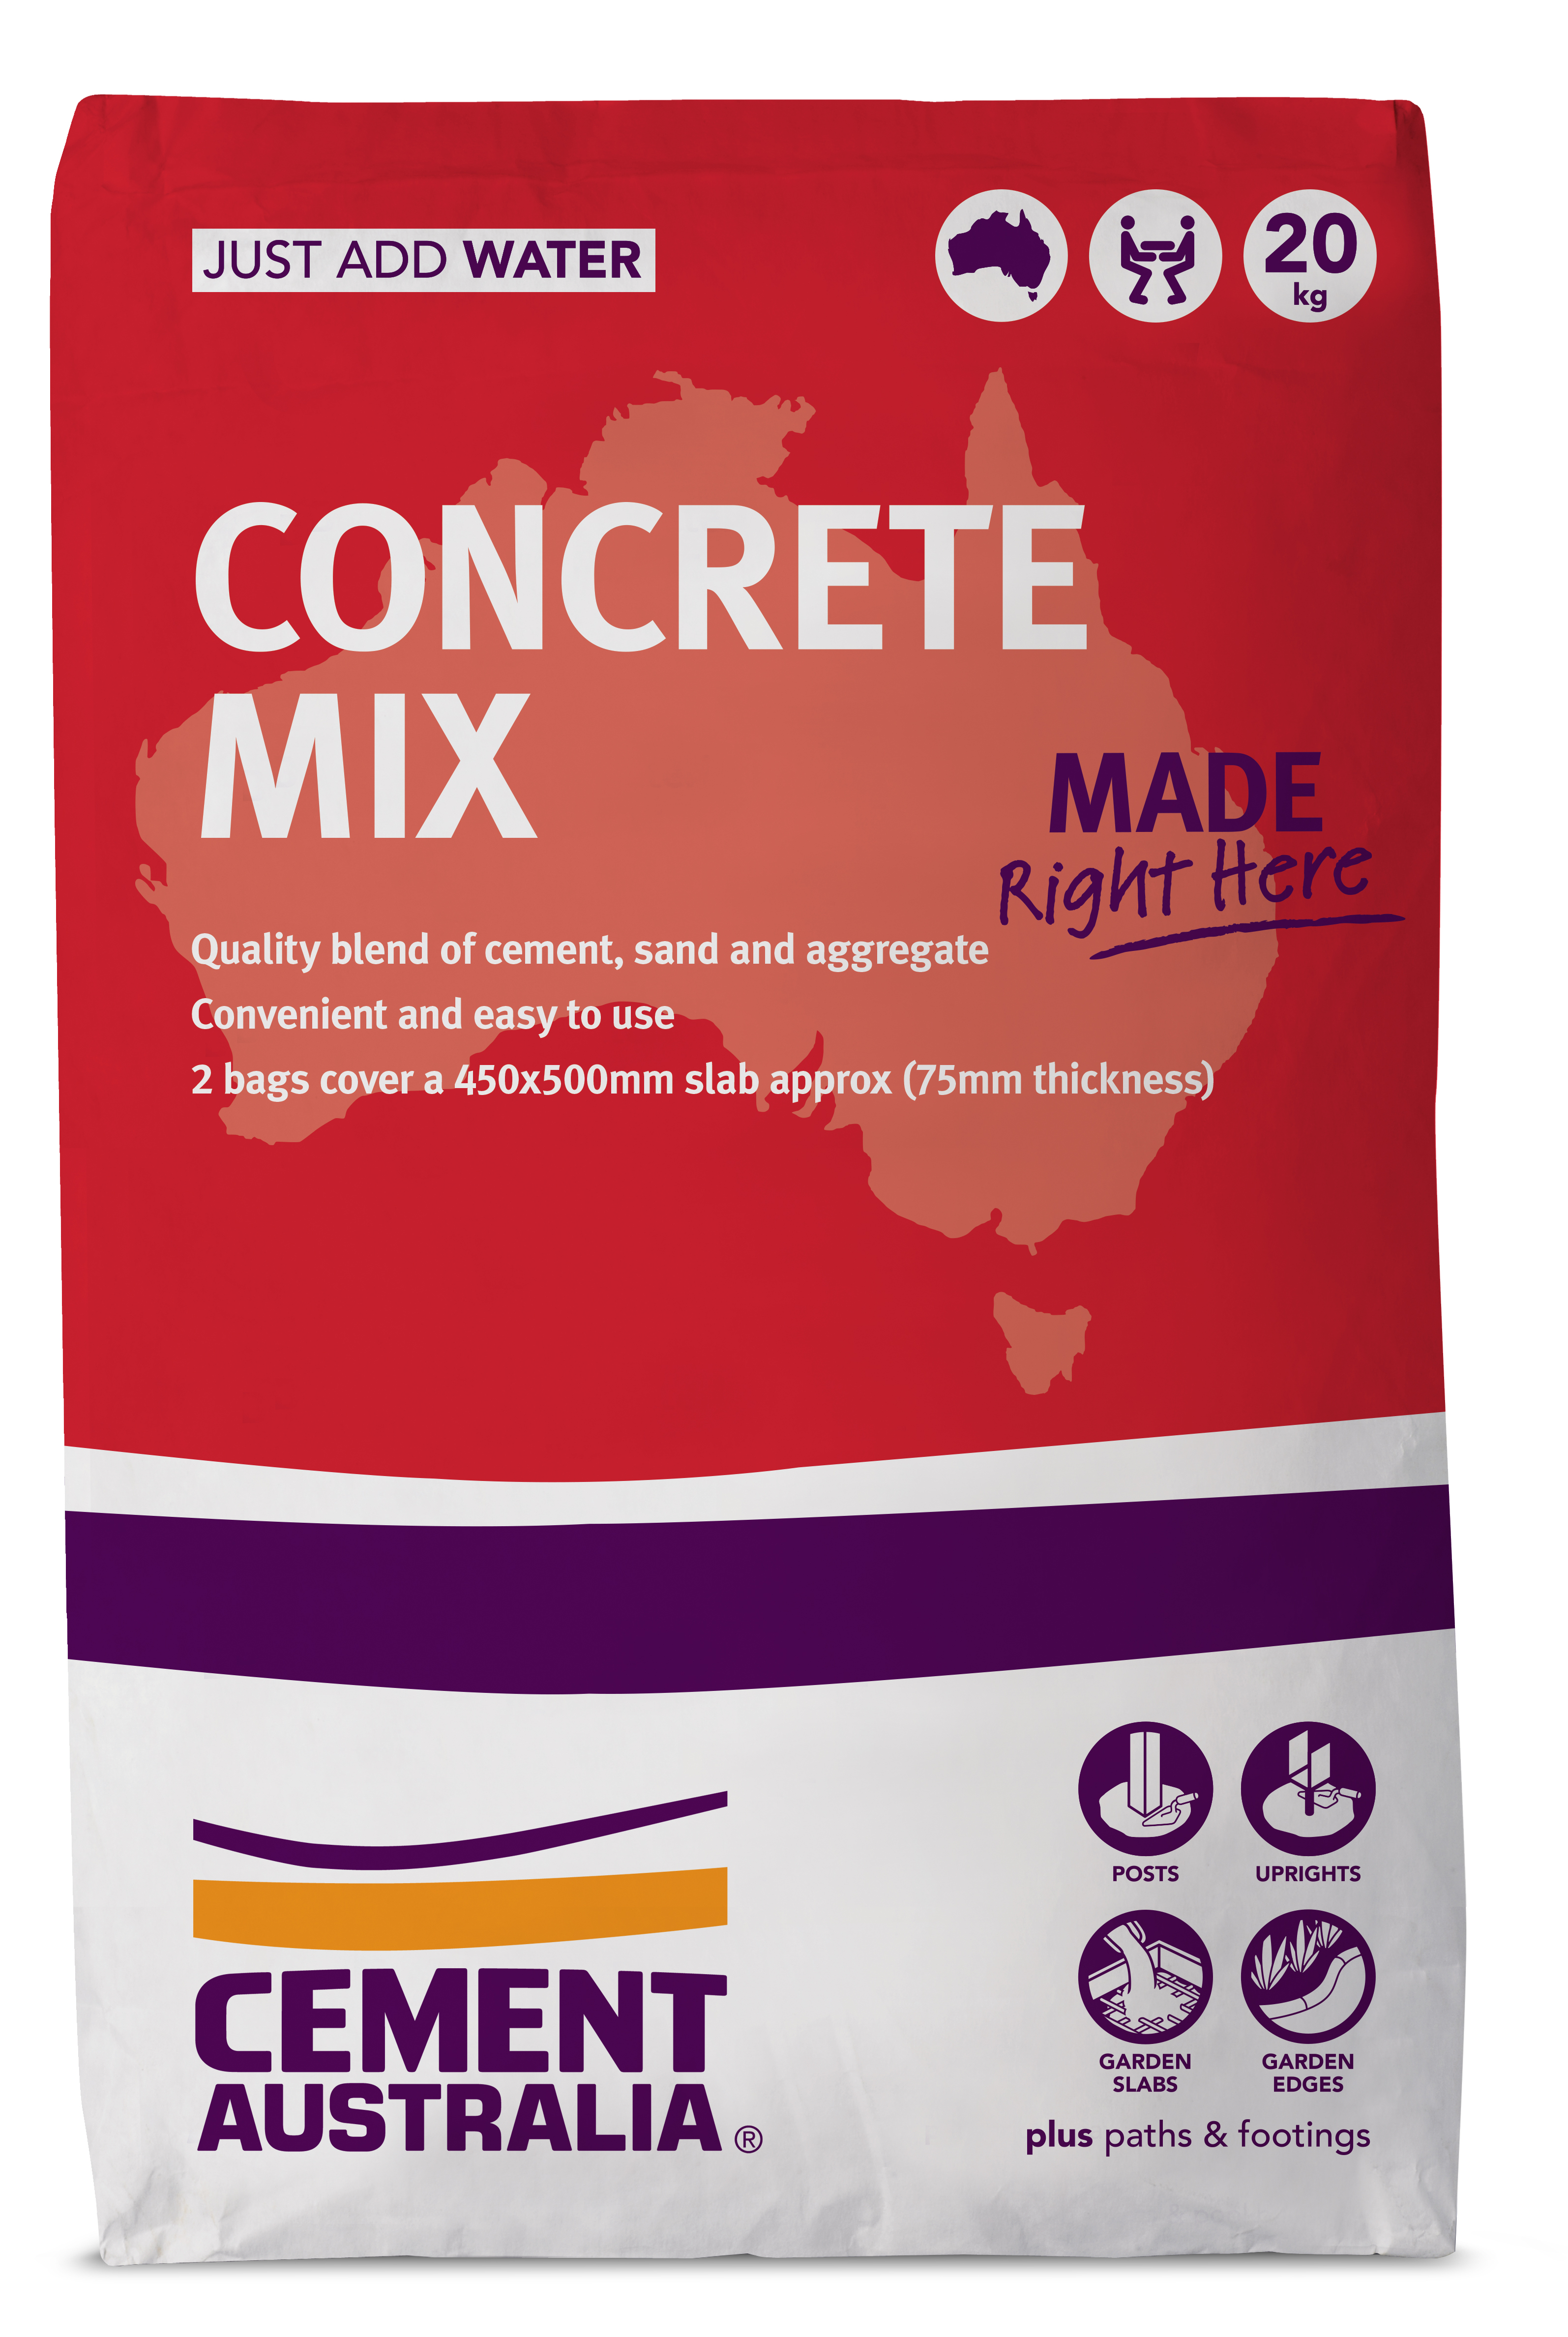
  • Bags of Concrete Mix 20kg
  • Lengths of timber for formwork
  • Timber stakes
  • Clean water
  • Reinforcing mesh (& bar chairs if required)
  • Double headed or clout nails for easy removal
  • Road base or crusher dust to bed slab

Hints & tips

For larger jobs it is worthwhile hiring a concrete mixer and a plate compactor to get the job done properly.

Before you get started

  • Use the Calculator to estimate how many 20kg bags you will need
  • Read the Hints & Tips section
  • If there is a specified concrete strength required for your project (i.e. N20/10) you must call in the professionals and have the concrete delivered via a truck - its the only way to ensure a specified final strength of concrete.
  • How can you tell which method of concrete mixing is best for your job?  A handy guide is any amount of concrete under 0.1m3 you can easily mix yourself using bags of Cement Australia Concrete Mix. For jobs between 0.1m3 and 0.5m3 then consider mixing your own using Cement Australia’s Builder’s Cement, sand and aggregate. For any job over 0.5m3 where access isn’t an issue then it is best to have pre-mixed concrete delivered from a ready mixed concrete company. 
  • Ideally concrete should be placed and finished during the early morning, before air temperatures and wind speed rise and the air humidity drops.
  • Ensure you have any relevant approvals or permits. Ensure there are no pipes or services below the ground; contact Dial Before You Dig on 1100 or via their website www.1100.com.au for advice on the locations of submerged pipes and cables.
    Dial before you dig

Safety

Before you begin any project, please ensure you protect yourself with the following:

Boots
Boots
Face mask
Face mask
Gloves
Gloves
Googles
Googles
Long pants & sleeves
Team lift
Team lift
Wellington Boots
Wellington Boots

Look after yourself properly

  • Protect your skin and eyes.  Cement based products are alkaline and can cause burns to exposed skin or eyes.
  • When working outdoors, be SunSmart - Slip on some sun-protective clothing – Slop on sunscreen - Slap on a hat - Seek shade - Slide on some sunglasses.
  • Use our simple Calculator to work out how much Concrete Mix product you will need for your project.
  • All 20kg bags of cement products require 2 people to lift them safely. Always follow safe lifting procedures to avoid injury.  So you will need a friend to assist you with mixing, placing and screeding the concrete - the more friends the merrier for larger jobs!

HOW TO LAY A SLAB USING CONCRETE MIX 

1
CONSTRUCT THE FORMWORK

Measure, mark using a Carpenters square, cut squarely and nail the formwork together so that the internal measurement is the required dimensions for the slab. 

With square or rectangular slabs, ensure that the formwork is true to square by measuring the diagonals between the opposite corners - these must be equal for the shape to be correctly square.

Tip

The height of the timber used for your formwork should equal the thickness of your concrete slab to enable you to screed the finished surface level with the top of the formwork.

2
MEASURE THE AREA TO BE DUG OUT

Place the formwork in situ and use a spade to mark around the outside edge of the formwork.  This will mark the area you will need to dig out to the required depth.

3
EXCAVATING THE AREA FOR THE CONCRETE SLAB

Move the formwork out of the way and dig out the area for the slab to the required dimensions. Allow an extra 5 cm of depth for a bed of crusher dust or road base under the slab.

Place the formwork back in position and ensure that it is level using a spirit level. You might need to dig a trench to ensure that the formwork is set at the correct height. Backfill against the formwork so that it stays in place, and hammer in timber pegs at 100 cm intervals on the outside of the formwork to hold it firmly in position whilst you pour your slab.

Tip

Ensure the pegs are level with or below the top of the formwork so that it is possible to screed the surface when the concrete is poured.

4
PREPARING THE SLAB BEDDING

Place a bed of road base or crusher dust 6-7cm thick, rake it to a level surface and tamp it down firmly all over to a thickness of 5cm. This provides a stable surface for the slab.

Tip

The secret to a crack-free slab is a firm, well drained base so for larger areas consider hiring a plate compactor to do the base preparation work properly.

5
PLACE THE REINFORCING MESH (IF REQUIRED)

If reinforcing mesh is required, cut it to fit inside the formwork allowing 5 cm clearance between the formwork and end of the bars so the reinforcing will be completely covered in concrete. Use plastic bar chairs placed closely together to support the reinforcing mesh and hold it in the centre of the slab. The reinforcement must be at least 5cm above the compacted base and around 4 cm below the top of the slab.

Tip

Do not allow the reinforcement to sag between the supports or sit directly on the compacted road base; it is important that it is fully encased by the finished concrete.

6
MIXING THE CONCRETE

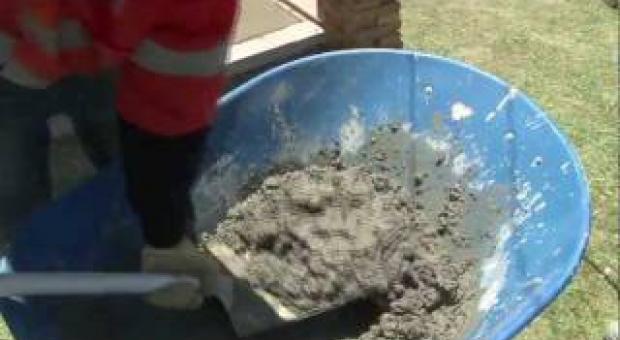
In a non-porous vessel, such as a wheelbarrow, add the Concrete Mix no more than 2 bags at a time.  Add water (1.75 litres of clean water per bag of Concrete Mix) to the mixing vessel. Empty the Concrete Mix blend slowly into the water and mix thoroughly. Only if absolutely needed, add small amounts of additional water (in increments of ~100ml) to achieve a workable mix. Too much water ruins good concrete.

Tip

Ensure you check the back of the packaging for correct water quantity. Using Extra Strength Concrete Mix will have a different water mix ratio.

Play

Guide to getting the consistency of Concrete right

7
PLACING THE SLAB

Prior to placing the concrete, soak the compacted base with water to minimise moisture loss. Start by placing the concrete against one edge of the formwork and add further batches working away from the edge, spreading with a shovel to ensure that all of the edges and corners of the formwork are completely filled. Fill all the way to the top of the formwork, using your shovel to tamp the product into position to get any air pockets out of the concrete.  Level the concrete with a screed held against the top of the formwork and by working from side to side and moving from one end of the formwork across to the other. It is necessary to repeat this process to ensure that the surface is flat. Fill in any low spots as you work the surface.

Tip

Be ready to keep on mixing concrete from when you start until the formwork is completely full.  This is not a job where you can take a long lunch break half way through!

8
FINISHING THE CONCRETE SLAB SURFACE

Water (bleed water) will appear on the surface and then gradually evaporate. Do not work the surface at all while the bleed water is present. When it has evaporated and the surface has stiffened a little, use a float to flatten the concrete and remove any ridges from the initial screeding. If you require a very smooth surface finish use a steel trowel. However, this may be too slippery for outdoor concrete - particularly for pathways so alternatively broom the concrete or use a wooden float to produce a textured, non-slip surface.

Tip

Work the concrete in a circular motion angling the trowel towards you and slightly off the surface to prevent it from digging into the concrete.

9
EDGING THE CONCRETE AND ADDING A CONTROL (EXPANSION) JOINT

Use an edging trowel around the entire perimeter of the concrete which will also compact the edges of the concrete. For larger slabs, use a jointing trowel to provide control joints at 150cm intervals, by creating a straight groove around 2cm deep in the slab.  The inclusion of control joints will control cracking.

Tip

As it dries concrete will shrink slightly and adding control joints creates a straight line break rather than allowing random cracking to form.

10
CURING THE CONCRETE SLAB (PROTECTING THE SURFACE AGAINST MOISTURE LOSS)

Moisten the surface and edges of the slab using a hose on a gentle spray twice daily for 7 days. Curing provides a continuous supply of moisture to ensure a better surface quality and a stronger slab. Curing must start the same day – as soon as you have finished the surface.

11
REMOVING THE FORMWORK

Formwork may be carefully removed after 24 hours.  You can walk on the surface after 3 days but avoid any heavy loads for at least 7 days.

Tip


If using Extra Strength Concrete Mix, formwork can be removed in half the time. 

Hints & tips

  • Ensure that the timber for the formwork is the same height as the thickness of the slab you want to pour. For example, for 100mm thick slabs purchase 100mm x 50mm timber to make your formwork.
  • In hot or very dry weather you need to prevent the rapid loss of surface moisture by:
    - Soaking the compacted base under the slab thoroughly
    - Minimising the finishing time by having enough workers available to complete the pour quickly
    - Use light mist sprays to prevent excessive evaporation
    - Begin the curing process as soon as you have finished smoothing the surface of the slab.
How much product do I need?
Where can I buy this?